Showing posts with label Recipes. Show all posts

Wednesday, July 14, 2010

More "Home Grown" & "Fresh Caught" Recipes!

I swear we aren't very primitive people....but we have thoroughly enjoyed cooking the fresh fish we caught in Destin along with using our home grown produce! We came home to find that everything had ripened while we were gone! I couldn't wait to hit the kitchen and use our home grown goods!

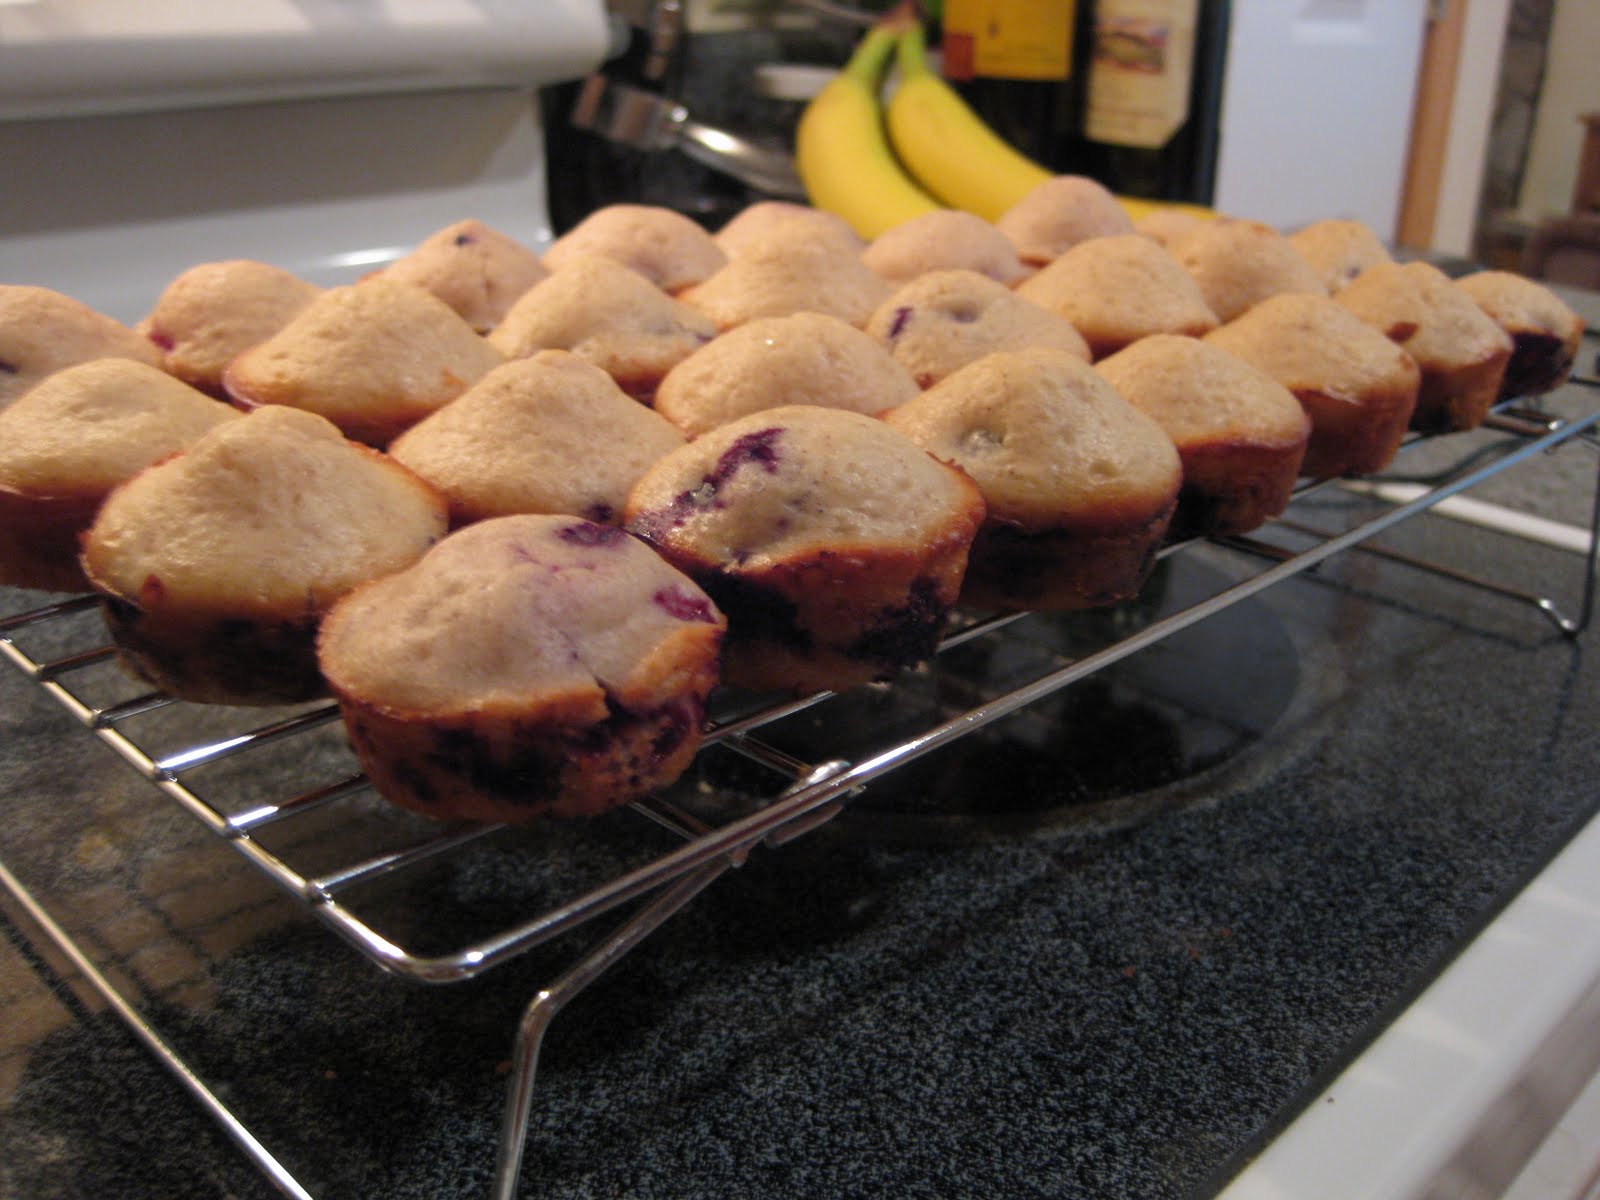
Yesterday morning I made muffins with our blackberries and blueberries! Our blackberry bush is out of control and Clayton found a blueberry bush outside of his office!


Berry Good Muffin Recipe

Ingredients:
- 3/4 cup of milk
- 1/4 lemon juice
- 2 cups all-purpose flour
- 3/4 cup sugar
- 1 tablespoon baking powder
- 1/2 teaspoon cinnamon
- 1/2 teaspoon salt
- 1 egg, lightly beaten
- 1/4 cup vegetable oil
- 1 cup of berries (whichever you choose!)

Directions:
1. Preheat oven to 400 degrees.
2. Mix the milk and lemon juice, set aside.
3. Combine flour, sugar, baking powder, cinnamon, and salt. Set aside.
4. Add egg and oil to the milk mixture then combine with the mixture of dry ingredients.
5. Fold in berries.
6. Grease or line the muffin tins and bake for 22-24 minutes. For mini miffine, bake for 13-15 minutes.


I spilt my mix in half before adding the berries. I added blackberries (above) and blueberries (below).

Mmmmmm.....
Now for another Fish recipe we tried last night.... for those who don't like blackened fish! We grilled our Snapper with a marinade and then put fresh fuit salsa on top of it!

Fish Marinade Recipe

Combine all ingredients:
- 1/3 cup of extra virgin olive oil
- 1 tablespoon lemon juice
- 1 tablespoon minced fresh parsley
- 1 clove of garlic, minced (I just used the jar garlic!)
- 1 teaspoon dried basil
- 1 teaspoon ground black pepper
- 1/2 teaspoon salt

Fruit Salsa

Combine all ingredients:
- 1 mango
- 3 kiwis
- 1 peach

Directions:

1. Marinate the fish filets in the marinade for one hour prior to grilling.
2. Put the grill on low heat and place the fish right on the grill rack (lightly oil prior to grilling).
3. Grill fish for 3-4 minutes, then flip and grill the other side for 3-4 minutes.
4. Remove and top with fruit salsa!


And if you have extra fruit salsa left over? Turn it into dessert! I took our left over tortillas from Fish Taco Night, topped them with butter, sugar, and cinnamon. Baked them for 5-7 minutes on 450 degrees in the oven! Then we topped them with the fruit salsa! Delish!


Lastly, we came home to three huge red tomatoes on our tomato plant! I sliced into those babies and made a BLT for lunch today! (I don't think you need the directions for that one!) However, I did attempt to make a healthier version by using turkey bacon rather than the real stuff! It was great!


We have never grown our own fruits and vegetables until now, and have enjoyed every minute of it! It's so exciting and it's pretty fulfilling to know that you're eating something you grew all by yourself! If you've never done it, I encourage you to give it a try!

Tuesday, July 13, 2010

Blackened Fish Recipes!

This is one of our favorite ways to eat fresh fish! So far, we have used this recipe with Mahi Mahi, Redfish, and Snapper...and they're all DELISH!

You can do SO much with this fish:
- Eat it as is and serve it up with some rice and veggies!
- Put it on a salad
- Put it on a Sandwich
- Make Fish Tacos (Which is our personal favorite!)

Ingredients:

FISH
- Fresh white fish
- 2-4 chopped green onions
- 1/2 - 1 stick of butter
- Blackened Seasoning (I prefer Zatarain's)
- Foil

SPICY TARTAR SAUCE (I found this on Food Network... Clay and his coworkers loved it!)
- 1 cup of mayonnaise
- 1 tablespoon of chopped pickled jalapenos
- 1 tablespoon of minced onion
- 1 garlic clove chopped (I used the jar kind!)
- 1 teaspoon of hot pepper sauce
- 1/2 teaspoon of lemon juice
- 1/4 teaspoon of chili powder
- 1 pinch of salt

Fish Directions:

- Rub butter on both sides of fish, then sprinkle the Blackened Seasoning all over both sides of the fish.
- Take a large piece of foil and create a tray with it  folding up all four sides of the foil (see picture below).
- Lay the fish in the foil tray.
- Slice the remaining stick of butter in to 1/4 inch slices. Lay the butter around the endges of the foil.
- Lay the remaining slices on top of the fish along with the chopped green onions.
- Place the foil container on the grill and cook on low heat for aabout 5-10 minutes.


Spicy Tarter Sauce Directions:

- Combine all ingredients.
- Refridgerate 30 min to 1 hour before serving!

Wednesday, May 26, 2010

Happy Memorial Day!

If you need us this weekend, we'll be here!


We're headed down to Steinhatchee today with both of our families for boating, fishing, and 'laxing! I want to wish everyone an early Happy Memorial Day! I'm so excited for summertime!

Before I go, here's a great little Memorial Day recipe that goes great with anything you put on the grill! I made Paula Deen's Tomato Pie when we went to Blue Ridge last weekend, and it was fantastic! (Pretty much anything Paula Deen makes is, right?!)

I didn't take pictures of me making it, but here's Paula's Pic and Recipe! Enjoy!

Tomato Pie Recipe

Ingredients
  • 4 tomatoes, peeled and sliced
  • 10 fresh basil leaves, chopped
  • 1/2 cup chopped green onion
  • 1 (9-inch) prebaked deep dish pie shell
  • 1 cup grated mozzarella
  • 1 cup grated cheddar
  • 1 cup mayonnaise
  • Salt and pepper

Directions

Preheat oven to 350 degrees F.
Place the tomatoes in a colander in the sink in 1 layer. Sprinkle with salt and allow to drain for 10 minutes.
Layer the tomato slices, basil, and onion in pie shell. Season with salt and pepper. Combine the grated cheeses and mayonnaise together. Spread mixture on top of the tomatoes and bake for 30 minutes or until lightly browned.
To serve, cut into slices and serve warm.


P.S. My blog got a little summer make-over....you like?

Tuesday, May 18, 2010

Stuffed Crust Strawberry Cream Pie Recipe

Ever since Strawberry season began, I have been on the hunt to find the perfect Strawberry Pie recipe! So far, I have tried several and have had a hard time finding "the one". This version was the best I've made so far, if you want to try it at home! I'm not a huge fan of Pillsbury pie crust, BUT it's a stuffed crust so it didn't taste too "Pillsbury-ish." 


The Ingredients:
Crust
1 box (15 oz) Pillsbury® refrigerated pie crusts, softened as directed on box
1 package (7 oz) almond paste
1 teaspoon cornstarch
1 egg white
Strawberry Filling
1/2 cup granulated sugar
3 tablespoons cornstarch
3 cups sliced fresh strawberries
Homemade Whipped Cream Topping
1 cup whipping cream
2 tablespoons powdered sugar
1/4 teaspoon vanilla
8 fresh whole strawberries, if desired


Preheat the oven to 400 degrees...
In a food processor, mix the Almond Paste, Cornstarch, and Egg white.


Scoop the almond paste mixture onto one of the pie crusts. Spread it out over the crust so that it's 1 1/4 inch from the edges. Then cover it with the second pie crust (like an "almond paste mixture sandwich")!


Place the "sandwich" in a pie dish and cover the edges with foil.


Place another pie dish (or if you're like me, a cake pan) over the crust. Bake for 10 minutes.


After 10 minutes, remove from oven. Remove the top pan and prick the top of the crust with a fork about 15 times. Then place it back in the oven to bake for 15 more minutes! Remove it when it's a light golden brown and let cool for one full hour!


The cooling period is a great time for your kitchen staff to take a break. Or nap.


For the strawberry filling, mix the sliced strawberries, sugar and cornstarch in a 2-quart saucepan over medium high heat. Heat it until it boils, stirring constantly. Lower the temp a bit, and keep stirring until it's almost a thick jello-like mixture. Pour the filling into a clean bowl and cool in the refrigerator for 30 minutes. Stir it a couple times during the 30 minute time to help the entire contents cool quickly!


Mmmm....now on to the homemade whipped cream part! Mix the heavy whipping cream, powdered sugar and vanilla on high speed with a mixer. Mix it a couple minutes until it thickens. You'll start to see small peaks in the mix, like this picture below!


After the crust and the strawberry filling cools, introduce the two to each other!


Then spread with the whipped topping! Decorate it as desired! (I wish I would have had a little greenery or mint leaf in the house to add some color!)


Grab a fork and dig in! Caution: Once you start, it's difficult to stop!

Recipe compliments of Pillsbury.

Monday, April 26, 2010

Fishing Themed Birthday for my Fisherman

If you know my husband at all, you know he loves to fish. If you read this blog enough, you'll soon understand the extent to which he loves to fish. He has such a passion for it, so I am slowly jumping on board (no pun intended)! Part of it involved surprising him with a "Fishing" themed Birthday party last Thursday night! We had friends coming in town for the weekend, so I wanted to do something special for him, just the two of us. I spent the day baking a Fishing cake (my mom's recipe that she made for my sister and I when we were kids - our favorite)! I also bought party decorations, fish candy, and goldfish (a fishy snack). I would say, I was being quite the "Fisherwife". After working hard all day, the Fisherman didn't get home until almost 7:00 (you can imagine, Fisherwife wasn't so happy!) I set up a birthday party table of goodies on the back porch. When he came home, he walked straight to the back porch (looking for deer, birds, bunnies, and the rest of our wildlife friends) and to his surprise he found his birthday party! His face lit up and was SO appreciative! Fisherwife was happy again.

See an upcoming post for our favorite birthday cake recipe!


Happy Birthday to my Favorite Catch!
Fisherman turned "actor" while blowing out his candles....
Delish....All you need is a glass of milk!


Friendship Bread

Clayton's coworker, Frances, is so sweet! She and her fiance will be getting married in October, so whenever I'm up at the job site, we compare wedding notes and I make sure she gets all of my old wedding magazines! I don't know how she works with those boys all day, but she's been such a great friend to Clayton! She was so sweet to pass on a bag of "Friendship Dough" to us!

It's the neatest concept.....when you receive a batch of dough, you are responsible for baking it within 10 days. On the 10th day, you divvy out the dough into four new bags and pass on to four friends! So far, I have given one bag to Emily and one bag to Leigh. I still have two bags at my house, and might just keep them because the Wells are coming to visit this weekend! The bread was so good, I want to whip up a few more loaves for them! They taste amazing and make the house smell SO GOOD! I made one cinnamon loaf and one banana nut loaf, by chopping up bananas and pecans from Clayton's grandmother's farm! Delish!

Here's the link to the story and recipe behind "Friendship Bread"!